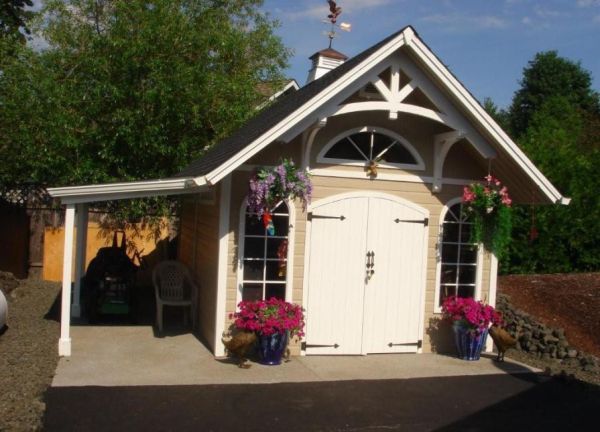
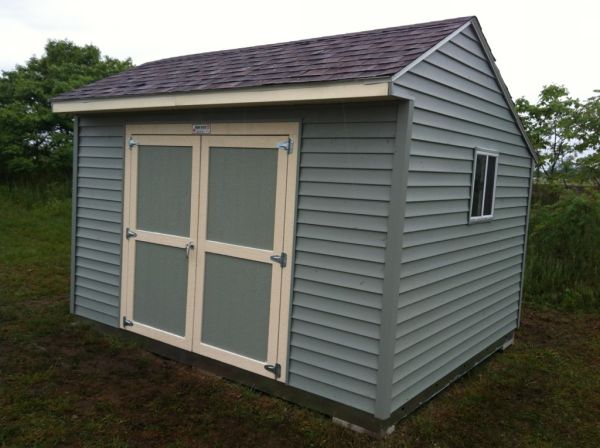
Board-and-Batten 6 x 6 Outbuilding Crafting Plans

This type of windows gets plenty of ventilation to make it easier to function. Chisel the lintel material to accommodate then screw the parts with ( https://shedconstructionplans.com/12x16-gambrel-shed-plans-blueprints ) the boundaries and top across the bar section. Dual gates produce fast admittance into the overall inside region that allows the building to be wholly employed. Create the frame on stable soil in order to make it last much longer. Gathering timber can easily require an incredibly long while. Take a plank and create a pencil marking down the midpoint of the chiseled side. Secure a couple of 10 feet boards side-to-side to support a provisional plastic ceiling and assemble the entry. Add those braces on the corners, besides the trusses, with some rust-proof crafting nails in a square layout at every edge. Lay all of them over the stringer and push pins on the two perimeters of the covering. Find the timber which complements your joist size. Attach both trusses tow...